


Making the Most of Your Smartphone Camera: Tips for Better Photos
go.ncsu.edu/readext?1091803
en Español / em Português
El inglés es el idioma de control de esta página. En la medida en que haya algún conflicto entre la traducción al inglés y la traducción, el inglés prevalece.
Al hacer clic en el enlace de traducción se activa un servicio de traducción gratuito para convertir la página al español. Al igual que con cualquier traducción por Internet, la conversión no es sensible al contexto y puede que no traduzca el texto en su significado original. NC State Extension no garantiza la exactitud del texto traducido. Por favor, tenga en cuenta que algunas aplicaciones y/o servicios pueden no funcionar como se espera cuando se traducen.
Português
Inglês é o idioma de controle desta página. Na medida que haja algum conflito entre o texto original em Inglês e a tradução, o Inglês prevalece.
Ao clicar no link de tradução, um serviço gratuito de tradução será ativado para converter a página para o Português. Como em qualquer tradução pela internet, a conversão não é sensivel ao contexto e pode não ocorrer a tradução para o significado orginal. O serviço de Extensão da Carolina do Norte (NC State Extension) não garante a exatidão do texto traduzido. Por favor, observe que algumas funções ou serviços podem não funcionar como esperado após a tradução.
English
English is the controlling language of this page. To the extent there is any conflict between the English text and the translation, English controls.
Clicking on the translation link activates a free translation service to convert the page to Spanish. As with any Internet translation, the conversion is not context-sensitive and may not translate the text to its original meaning. NC State Extension does not guarantee the accuracy of the translated text. Please note that some applications and/or services may not function as expected when translated.
Collapse ▲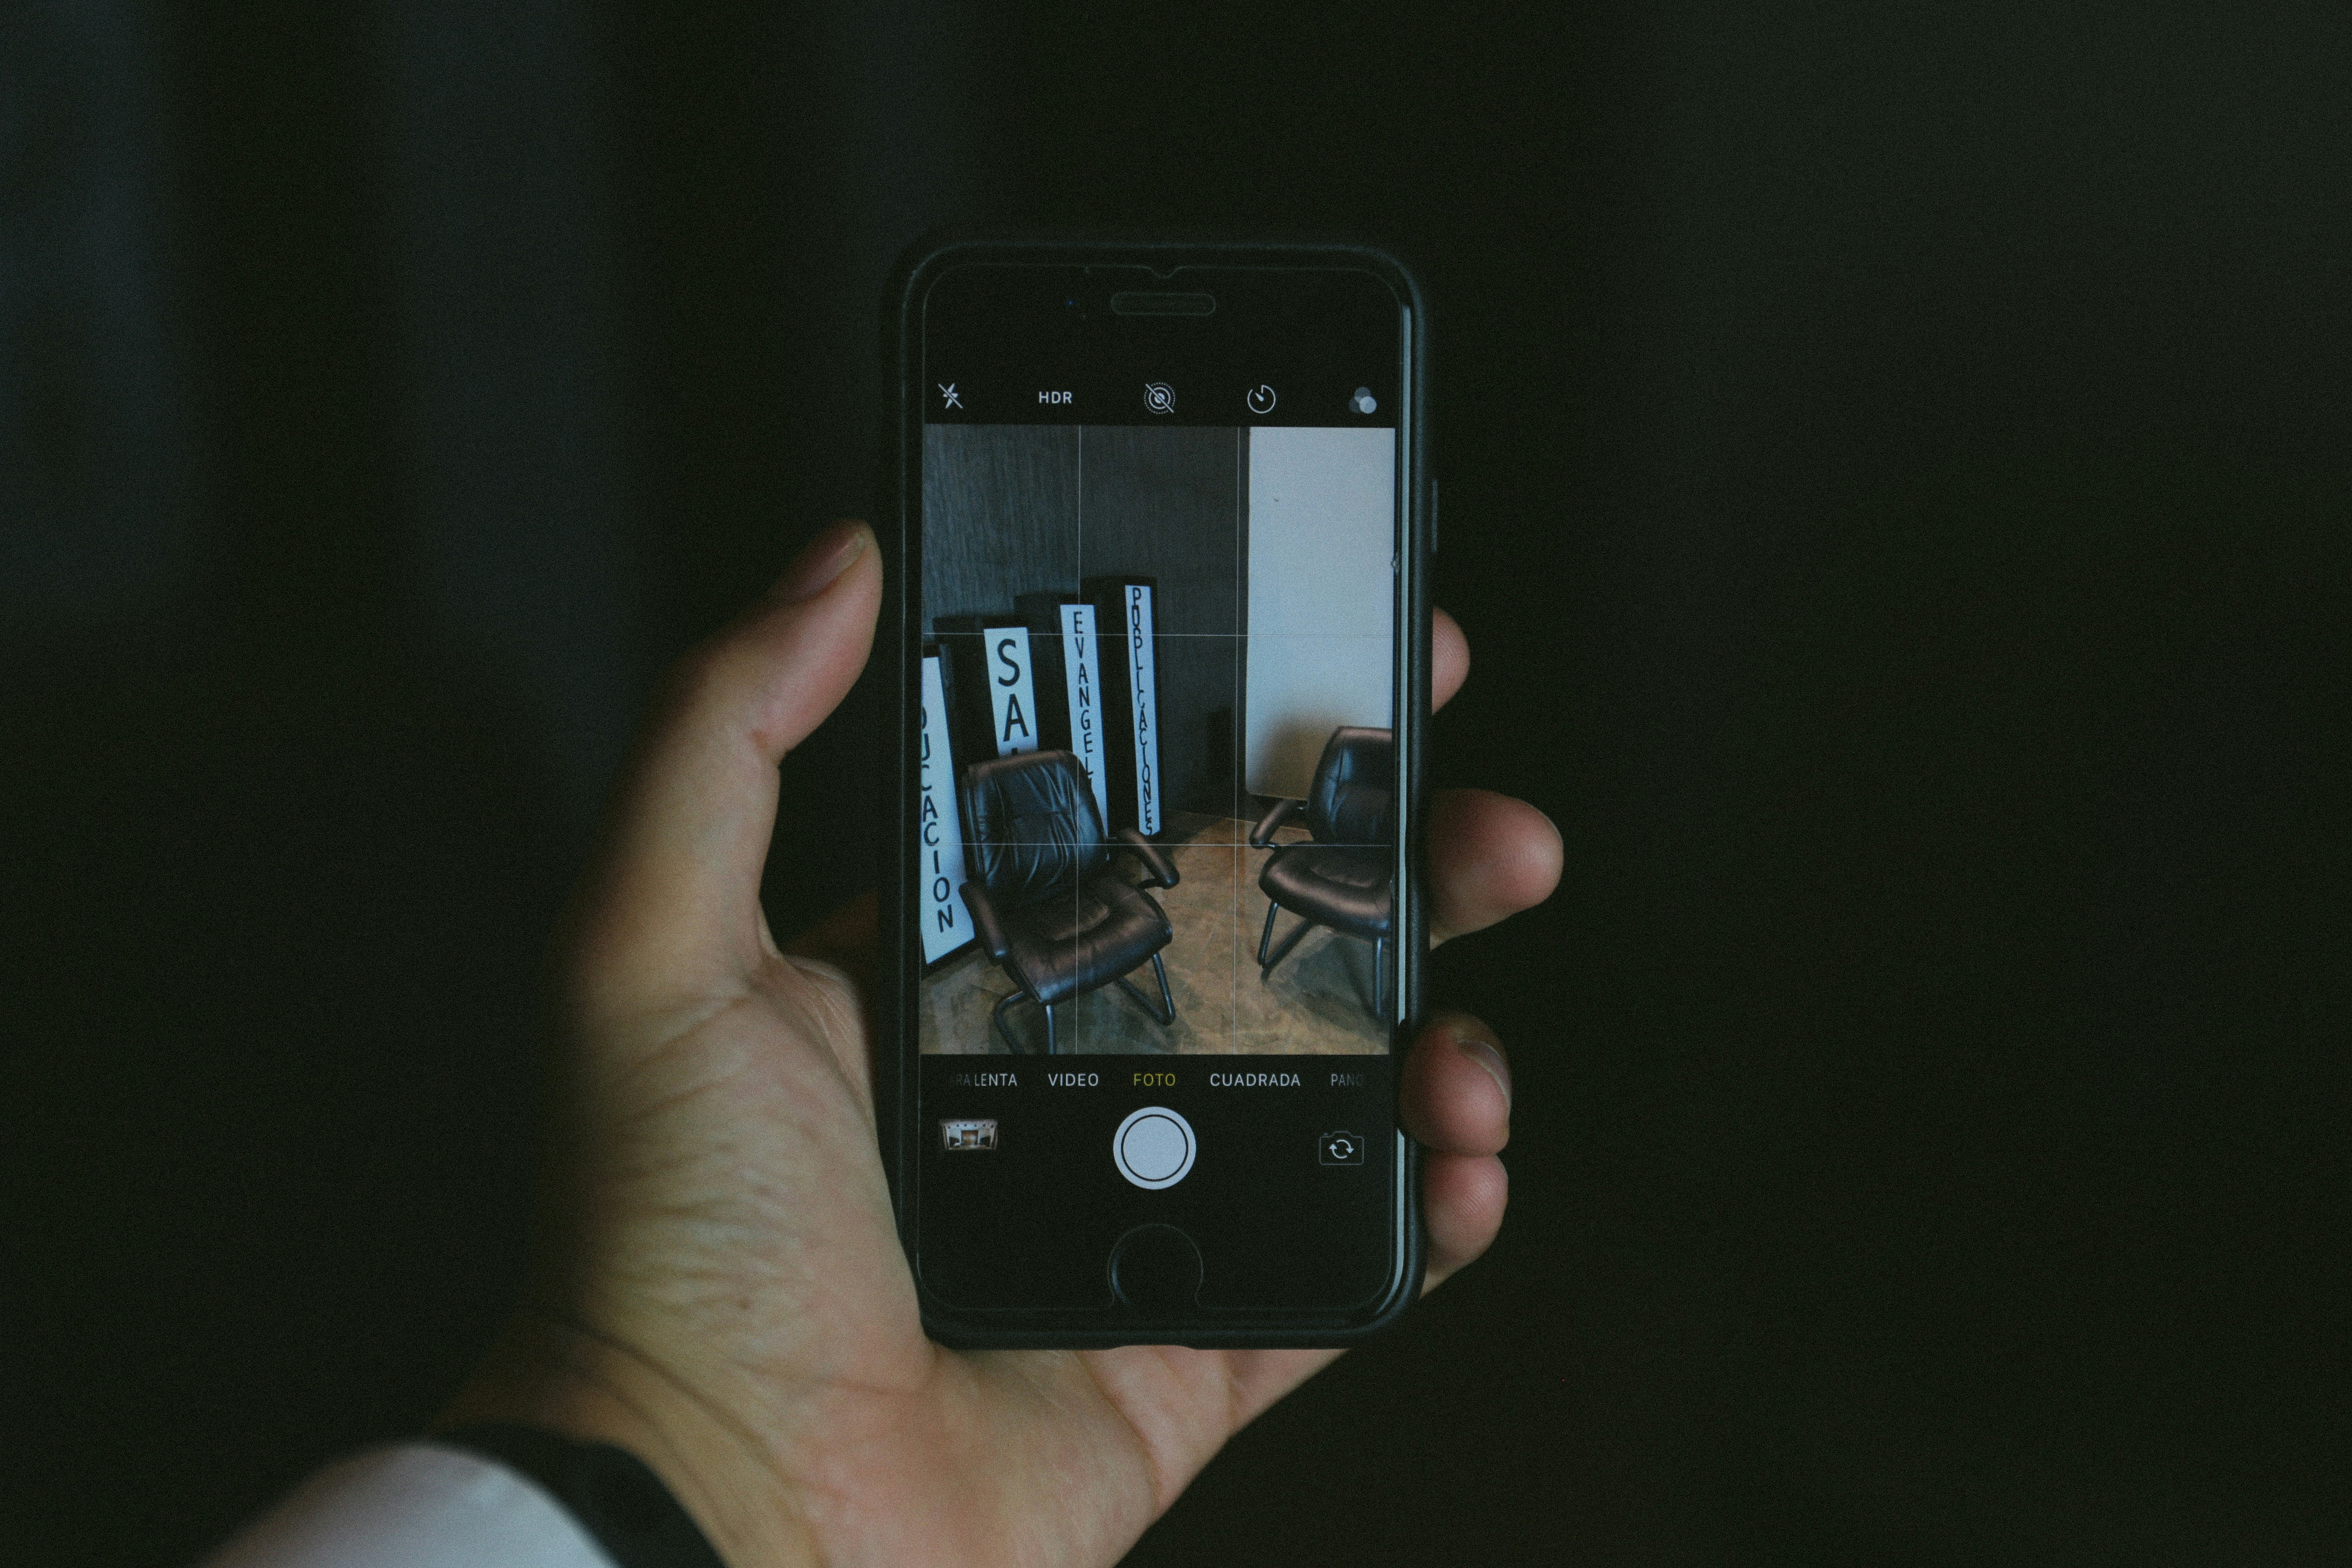
A person holds a smartphone, capturing a photo of two chairs and vertical signs inside a dimly lit room.
Whether you’re promoting your small business, sharing your farm’s harvest, or documenting a 4-H project, your smartphone is one of your most powerful digital tools. Smartphone cameras are incredibly accessible to the average person and today’s models can take sharp, high-quality photos. I even know several professionals who have almost completely migrated from using their more expensive, complex setups to creating art with their mobile phones instead. Here are a few simple techniques I learned from them that can take your own smartphone pictures from average to eye-catching:
1. Clean Your Lens
It sounds simple, but it makes a big difference. Your phone goes everywhere with you—pockets, tractors, purses—and the lens easily collects dust, fingerprints, and smudges. Make a habit of giving your lens a quick wipe with a soft cloth (or even your shirt in a pinch) before taking a photo. A clean lens means sharper images. I learned this habit the hard way doing product photography; there is nothing worse than taking 500 photos and then realizing you have to completely reshoot because all your photos are blurry! Trust me, you won’t regret training yourself to wipe off that lens before shooting photos.
2. Use Natural Light
Lighting is everything in photography. If possible, shoot during the “golden hours” (early morning or late afternoon) when the light is soft and warm. Avoid using your phone’s flash indoors, as it often creates harsh shadows and washed-out colors. Instead, position your subject near a window or step outside to take advantage of natural light. Look for areas of open shade. Unlike deep shade, which can be dark and flat, open shade is found at the edge of a shadow where the subject faces the open sky. This provides soft, directional light that creates beautiful portraits without harsh shadows or distracting light spots. Common locations include the shaded side of buildings, under an awning, or at the edge of a forest. Open shade is every photographer’s best friend!
3. Tap to Focus and Adjust Exposure
Most smartphone cameras let you tap on the screen to focus on a specific part of your image. This is especially helpful for close-up shots like showcasing produce, crafts, or details of a project. After focusing, you can often adjust the brightness by sliding your finger up or down on the screen. This will help you avoid overexposed (too bright) or underexposed (too dark) shots.
4. Use Gridlines for Better Composition
Turn on the camera’s grid feature in your settings. This places a rule-of-thirds grid on your screen which can help you line up horizons, center your subject, or follow classic photo composition rules. It’s a small trick that makes your photos look more balanced and professional.
5. Edit with Purpose
A little editing goes a long way. Use your phone’s built-in photo editor to crop, straighten, or adjust the lighting. There are also excellent free photo editing apps like Snapseed and Lightroom Mobile that are easy to use. Avoid heavy filters that make colors look unnatural, and aim for clear, true-to-life images that reflect your subject honestly.
6. Take Multiple Shots
Don’t rely on just one photo. Try different angles—high, low, close-up, or wide. Sometimes a small shift in position or expression makes a big difference. Later, you can choose the best image from the bunch. It might initially feel like overkill but I promise you’ll be happy later when you have a nice selection of banked content handy to choose from rather than having to reshoot!
Smartphone photography is a skill anyone can develop. By making a few simple tweaks to the way you shoot and edit, you’ll be able to create images that tell a story, highlight your work, or capture meaningful moments with impact. No matter the platform—social media, a flyer or a website—great photos will make a huge difference.
For more digital skilling tips or one-on-one help with cell phone photography, please don’t hesitate to reach out to me at rjinnet@ncsu.edu or 252-794-6170.